The client is a digital media company that acquires and grows digital video brands in the general entertainment space. Struggling with unreliable support from freelance video editors, operational bottlenecks, and revenue loss, the client sought the support of Video Caddy’s (VCD) video editing team. With VCD’s extensive experience and expertise, the client overcame their challenges, increasing profitability and reducing overheads.
The client is a next-generation digital media company that invests in and acquires brand-friendly digital video channels to scale and build its audiences, turning them into world-class business operations.
On a mission to develop the world's most innovative digital video brands, the client company boasts a team with 100+ years of combined relevant experience. Their team is a diverse mix of ambitious digital video veterans and people seeking to make their mark in the industry.
The client struggled with overwhelmed operational workflows, unreliable freelancers, and revenue loss resulting in a steep decline in productivity and profits.
VCD’s experienced workforce and proven track record of high-quality video editing service delivery convinced the client to choose us as their outsourcing partner.
Despite their revolutionary approach and unique vision, our client faced several challenges. One of their primary challenges was an unreliable freelance workforce, resulting in operational bottlenecks and revenue loss.
Moreover, the time-consuming nature of the filming and editing process meant they needed quicker edits to meet publishing deadlines. Additionally, infrastructure issues were not feasible for an in-house content creation and editing workforce.
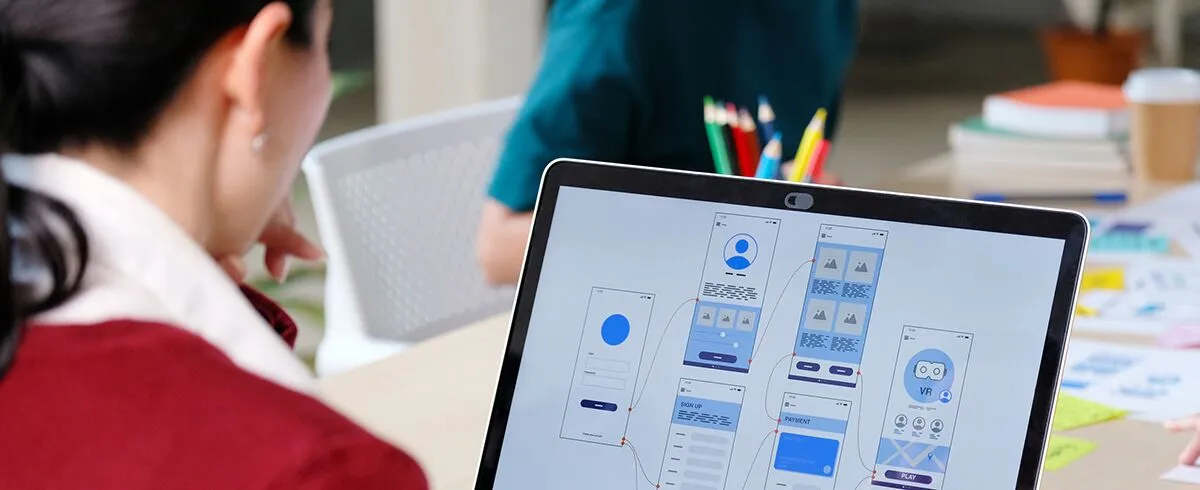
To overcome the mounting challenges, the client required a team of dedicated video editors who could work with their current team to create and curate trendy social media video outputs to be published on various social media platforms (YouTube / Instagram / TikTok ).
The client needed a dependable and experienced outsourcing partner with a dedicated team with experience working with Adobe Premiere Pro and After Effects. Additionally, they required the outsourced team to deliver weekly outputs and provide scalable infrastructure capabilities based on the project requirements.
Video Caddy’s highly experienced video editing team, specialized infrastructure, resource flexibility, and confidentiality assured the client that we were a perfect fit for their project. Our extensive video editing experience meant our team could work with minimal training, reducing the time for project completion.
To address the client’s challenges, Video Caddy provided a dedicated team of professionals with social media video editing experience with a sense of quick transition and trendy styles. VCD’s team adopted an organized approach ensuring adherence to client guidelines and timelines. The steps involved in the project execution include:
The client received high-quality video outputs weekly that matched the social media platform. VCD delivered 160 hours of uninterrupted YouTube video editing support, helping them reduce the editing backlogs and providing timely deliverables to match the client’s publication schedule. This helped the client cut 60% on overheads and increase revenue and profitability without additional infrastructure investment.
This project also helped VCD enhance its social media video editing experience and added to our knowledge of social media video publication guidelines. If you are looking for an offshore team to assist you on a similar project, Contact us today for a free consultation and quote.